How I Made These Photos: California's Central Coast in Springtime
May 2024
Introduction
I made these photos on a trip I helped lead with Dave Wyman to California's Central Coast. Join us on this year's tour, 06-09 May 2025!
This was a real photo trip where we were outside from well before dawn until after dark shooting every day. This wasn't a nerd-a-thon fiddling with computers in a motel room; we were outside hiking around the whole time.
Shooting
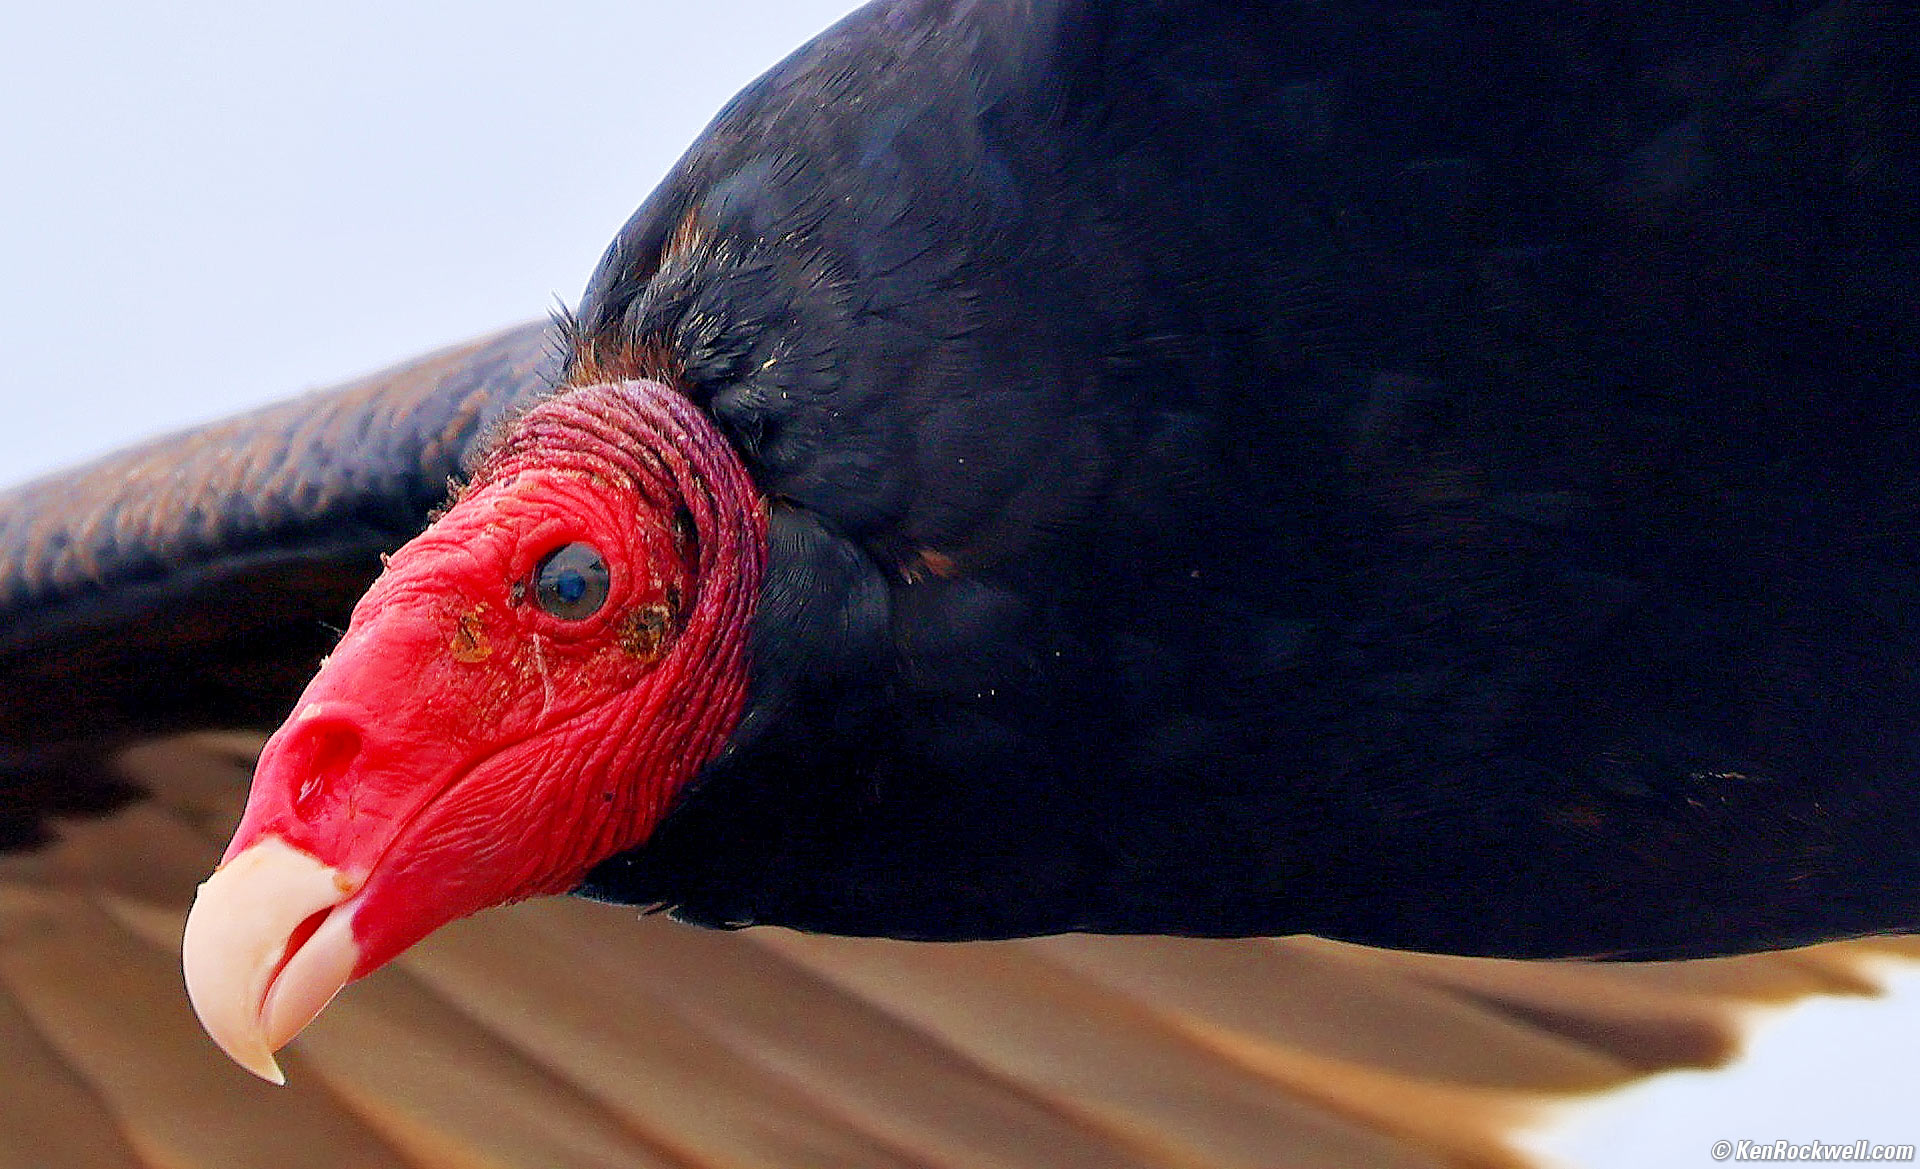
I brought only my Canon EOS R6 Mk II and my RF 24-105mm f/2.8L IS USM Z, as well as my iPhone 15 Pro Max, to make all the photos you see here.
All I needed was the one battery that came with the camera to have enough power for each very full day.
I also brought my RF 15-30mm IS STM and RF 100-400mm IS USM lenses, but I didn't need them for any of the photos you see here. Except for one boring wildlife shot, 24mm to 105mm was all I needed.
I also brought my Oben CT-2491 Carbon-Fibre Tripod with my Manfrotto 410 (née Bogen 3275) Geared Head in my trunk — which I never used.
I always shoot in P (program auto exposure), Auto ISO and Auto White Balance. I only come off these Auto modes if for some reason the camera isn't setting itself the way I need. I use all these Auto settings because they almost always set the camera the way I need much faster than mucking around with manual settings, and this lets me concentrate on what's actually in my photo rather than camera settings. Of course if the camera doesn't do what I need, then and only then will I pull it off to a manual setting. What's critical is to set the slowest shutter speed in Auto ISO to the slowest speed which gives you sharp pictures (for me it's Auto Slower), and then the camera always optimizes itself to make the sharpest possible picture in every kind of light hand-held.
I only shoot JPGs, specifically NORMAL (▟ stairstep icon) JPGs. I certainly don't need FINE (quarter circle icon) or raw files — don't let bullies make you think you need to use card-choking raw files!
I shot a total of 9 GB of JPGs on one card: done. I get everything I need with JPG and can edit everything about my JPG files if I need to, so there's no need to suffer the inconveniences of raw files.
I shot my R6 Mk II in STANDARD Picture Style with Sharpening set to 7,1,1 and Saturation set to +4. I explain these settings here at my R6 II User's Guide.
I used my iPhone 15 Pro Max' native Camera app in its default HEIF format (Settings > Camera > Formats > High Efficiency).
I have the "look" of my iPhone set to WARM (Settings > Camera > Photographic Styles > Warm (Tone 0 and Warmth 50)). The iPhone doesn't simply have three or four "lenses," it actually has three complete visible-light camera systems on its back, which is why I refer to its various cameras rather than lenses. Each camera has a different sensor optimized to its lens.
I read the EXIF exposure data later in Photo Mechanic for my JPG files; I most certainly didn't fiddle with manual exposure or any other camera apps. While it's also easy to read the iPhone's apertures, ISOs and shutter speeds in the Photos app (just tap the ⓘ photo info icon) so I can report them with my photos, I'm letting my iPhone set these all automatically. I had no idea what they were until after I returned to my studio.
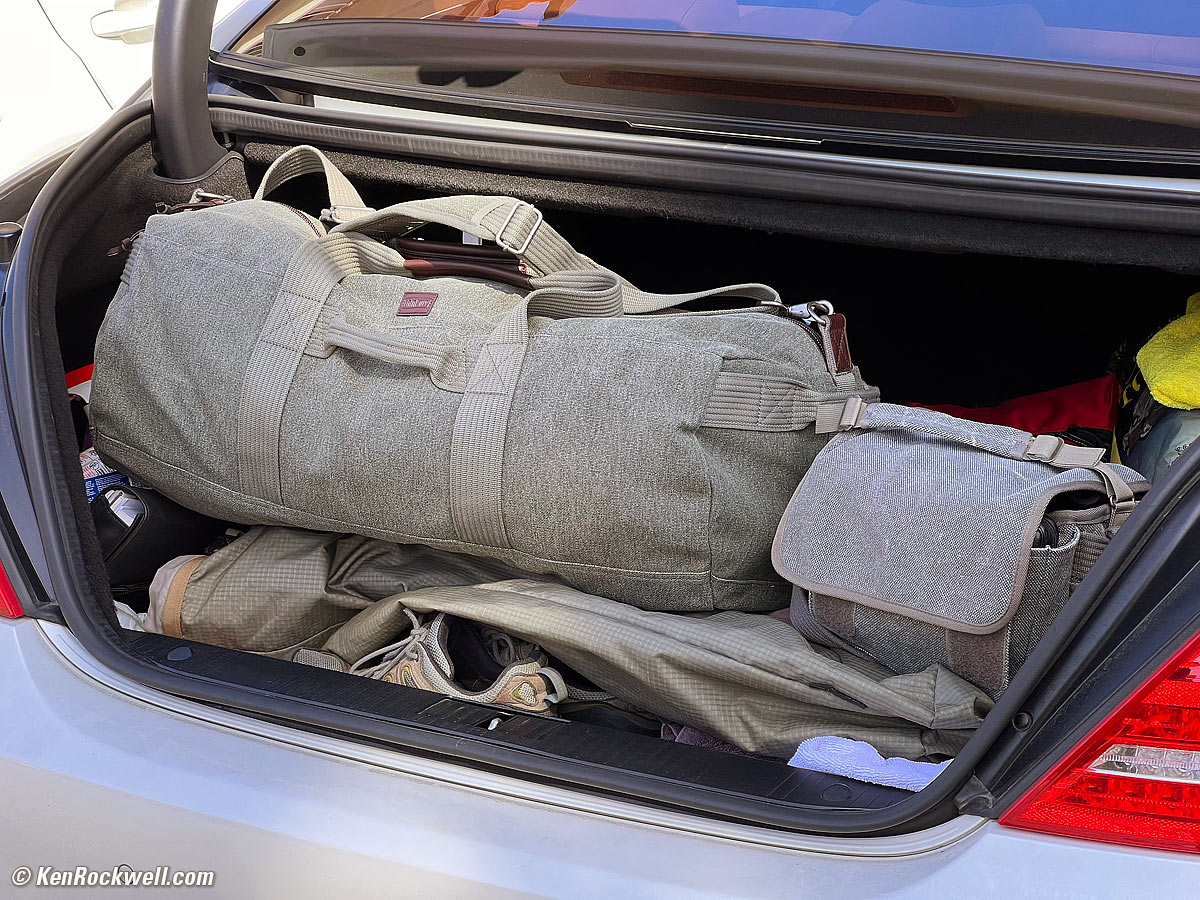
I brought my clothes and non-photo gear in my ThinkTank Retrospective Duffel 75, a good-sized duffel bag that matches my beloved Retrospective camera bags! It holds just the right amount of clothes, toiletries, computers and accessories for a week-long trip. It's super well-made of waterproof cotton canvas, cloth linings and leather trim just like the Retrospective camera bags; it's not the usual crummy nylon duffel bag. Perfect!
 |
 |
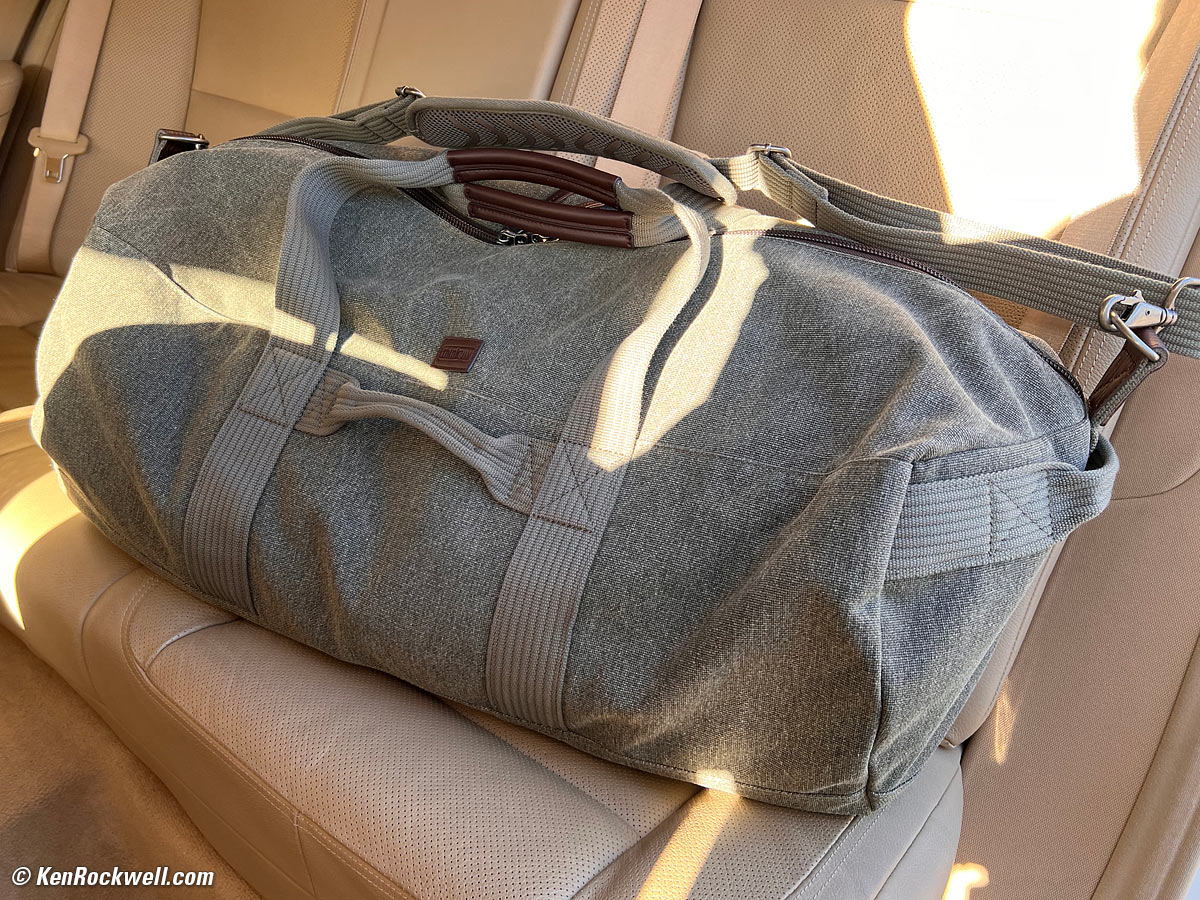 |
ThinkTank Retrospective Duffel 75. The left photo shows my Retrospective 5 bag, too. click any to enlarge.

The Ultimate Travel Set: Think Tank Retrospective Everyday EDC Backpack on top of my Retrospective Duffel 75 next to my Retrospective 7 Camera Bag. bigger.
I brought my computers and chargers in my Think Tank Retrospective Everyday EDC Backpack, so all three bags matched!
While out shooting I didn't bother with any bags; I left my Retrospective 7 camera bag in my trunk and carried my R6 Mk II around my neck, with the the RF 15-30mm IS STM in a pocket. Done!
Data Wrangling top
When I got home I copied the JPGs from my SD card into my Mac with the card reader slot in the front of my OWC Thunderbolt 3 Dock. Easy!
Because Photoshop 2021 still doesn't read HEIF, I had my iPhone convert these to JPG as I AirDropped everything to my Mac. To let the phone convert them to JPG for easy editing and sharing, after you've selected the images you want to AirDrop and have hit the SHARE icon (but before tapping the AirDrop icon), look towards the top of the screen with the selected images and tap OPTIONS, then choose FORMAT > MOST COMPATIBLE, which is code for letting the phone convert the HEICs to JPG for AirDropping. If I ever need the HEICs, they're still on my phone.
I could shoot my iPhone in JPG (Settings > Camera > Formats > Most Compatible), however HEIFs take less file space on my iPhone.
Selecting the Best Shots top
I sorted and picked the winners with Photo Mechanic. This is the fun part.
I code red (pressed 1) for deletion, yellow (pressed 2) as picks, and green (pressed 3) as super picks.
Editing top
Once selected, each pick received significant artistic input in Photoshop 2021, often with the Radiant Photo and/or Luminar Neo plugins until each completed work looked as I originally envisioned it. I don't use presets; I use this software as tools to get to the image I first saw in my mind faster, but skip the presets each offers.
I can't give you the exact steps I used for any particular image; it's performance art for me. I get into Photoshop and keep working with whatever it takes until the image looks as I imagined it. Every step brings me closer and closer to my previsualized result; I use no presets.
Like all of Man's creations, each work first exists in my mind, and I do whatever it takes until the final result matches my vision. For instance, I often add deliberate burning and dodging (localized lightening and darkening), cropping, edge-burning (edge darkening or vignetting), strong levels and saturation changes, perspective corrections and/or split-toning. Photography is a creative art, not an application of rules; you have to know what the picture is going to say and how you want it to look before you take it. See also my articles at How to Take Great Pictures.
Many of the iPhone shots were optimized in the free Snapseed app on my iPhone first while I was still at the location just to pester my friends who didn't come with the just-shot images. Snapseed is a blast.
Once optimized in Photoshop 2021 and my plug-ins, I used a a one-click action I programmed decades ago to resize each image to 1,920 pixels wide, sharpened it to correct for resampling aperture correction and added my ©KenRockwell.com bug and Saved For Web at 51% quality to preserve the full chroma bandwidth. Please excuse the lingo; I've worked in digital image processing since the 1980s and haven't taken the time yet to explain the engineering lingo for things like "kernels" and resampling apertures.
I built and published these pages in my 2010 copy of Dreamweaver CS5. There is no template; this page is designed by hand. I tried the 2019 CC version of Dreamweaver and it was AWFUL, continuously crashing and often unable to complete basic copy-and-pastes, so I stick with CS5 and my old operating system, which work great so I can focus on making pictures rather than chasing new bugs and learning new versions of the same old software.
Viewing top
Turn up your screen brightness for best results.
Click or tap any image to make it fit your screen. On Mac Safari, command ⌘ and + or - on will change the size of the page or image, and command ⌘ and 0 brings it back to normal.
Everyone's screens, from iPhones held vertically to computers with squinty 16:9 monitors, have different shapes. I can't make my differently-shaped shots fill everyone's screen at the same time.
These are 1,920 pixel-wide images; the originals are much higher resolution, but only a few of those original files are shared. These images will fill your screen horizontally, up to 1,920 pixels wide (or 3,840 pixels wide on Mac Retina displays). The vertical size will vary with each image.
On iPhone and iPad, everything changes size when you rotate between vertical and horizontal.
Good luck and enjoy!
< < Back to Photos
© Ken Rockwell. All rights reserved. Tous droits réservés. Alle Rechte vorbehalten. Alla rättigheter förbehållna. Toate drepturile rezervate. Omnia jura reservata. Ken Rockwell® is a registered trademark.