How I Made These Photos: Fall Color From California's Eastern Sierra
October 2025
Introduction
I made these photos on a trip I helped lead with Dave Wyman to California's Eastern Sierra. We'd love to have you on this tour again in 2026, or see our other tours.
Shooting
I brought my Canon EOS R1 with my RF 24-105mm IS STM and I was set. I also brought my RF 20mm f/1.4L VCM and cheap (but light!) RF 75-300mm.
The RF 24-105mm IS STM is ultralight and ultrasharp.
The almost-free RF 75-300mm works really well on a stabilized camera like the EOS R1, and is so light and small it fits in my jacket pocket.
I grabbed my new RF 20mm f/1.4L VCM just for night and Milky Way shots.
I know the EOS R1 is way too big to carry around out in the woods, but tough, I wanted to run it through its paces for you folks for my my R1 review.
I wanted to try out my new ultralight RF 75-300mm, so along with it I brought my ultralight and ultrasharp RF 24-105mm IS STM instead of my usual favorite, my RF 24-240mm IS USM.
What a dumb idea! Never bring two zooms when one zoom like the RF 24-240mm IS USM replaces them both.
With two zooms I had to stop what I was doing every other shot and jam lenses on and off my camera and in and out of my pockets. What a waste of time, especially when the light was changing — which it always is.
It proved how foolish it is to use two zooms like a 24-70mm f/2.8 and 70-200mm f/2.8 for outdoor shooting when just one lens will do. I hated having to mess with swapping lenses every other shot. The camera companies try to make you think you need the big, heavy f/2.8 lenses because it makes them much more money, but all you really do is miss photos and possibly drop a lens down a hill changing it, when you could have just turned the zoom ring on a 24-240mm. The pictures are just as sharp!
I brought my Hoya 67mm HRT Circular Polarizer which fit my RF 24-105mm IS STM. While my RF 20mm f/1.4L VCM also takes 67mm filters, do not use polarizers on 20mm lenses. My RF 75-300mm takes smaller 58mm filters, so I simply held the filter over the front of the RF 75-300mm of my iPhone 17 Pro Max. Easy!
I brought my Oben CT-2491 Carbon-Fibre Tripod with my Oben GH3W-15 Geared Head and Oben SPA-1000 iPhone adapter for Milky Way shots. I use a Nikon AH-5 tripod adapter on top of the geared head so I can attach cameras with just the thumb screw of the AH-5; I've never understood how seven steps to get a camera on a quick release is quick.
I usually shot in P (program auto exposure) or Aperture-Preferred (Av) modes. I always use Auto ISO with Auto Minimum Shutter Speed and Auto White Balance. I only come off any of these Auto modes if for some reason the camera isn't setting itself the way I need automatically. I use all these Auto settings because they almost always set the camera the way I need much faster than mucking around with manual settings, and this lets me concentrate on what's actually in my photo rather than camera settings. I did use the manual exposure mode for my Milky Way shots.
I shot my EOS R1 in STANDARD Picture Style with Sharpening set to +7,1,1 and Saturation set to +4. I was running firmware version 1.0.1.
I only shoot JPGs, specifically basic (QUALITY 4, ▟ stairstep icon) JPGs; no higher quality JPGs or RAW CR3 files were used or needed. JPGs give me full freedom to adjust exposure and dynamic range exactly like raw; don't let bullies make you think you need to use card-choking raw files just to edit your photos! I'm only throwing away pixel bloat and saving file and card space; my 24 MP JPG images have more than enough depth and detail for everything I need, and due to pixel dumping you can't even see more than 8 MP at one time anyway!
Of course I brought my new iPhone 17 Pro Max. I use its native Camera app in its default HEIF format (Settings > Camera > App Settings > Formats > Camera Capture > High Efficiency). More at How to SHoot the iPhone 17.
The iPhone doesn't simply have three or four "lenses," it actually has three complete cameras on its back, which is why I refer to its various cameras rather than lenses. Each camera has a different-sized sensor optimized to its lens.
I read the EXIF exposure data for all my shots later in Photo Mechanic so I can report them under each image; I certainly didn't fiddle with manual exposures. It's also easy to read the iPhone's apertures, ISOs and shutter speeds in the Photos app by tapping the ⓘ (photo info) icon in the iPhone's Photos app.
I traveled with my Canon system in my Retrospective 7 camera bag, while at any location I'd grab just the camera and pop the second lens in my pocket, leaving the bag with all my other accessories and tripod back in the car. My RF 20mm f/1.4L VCM only came out at night.
My iPhone 17 Pro Max rides in my jeans pocket.
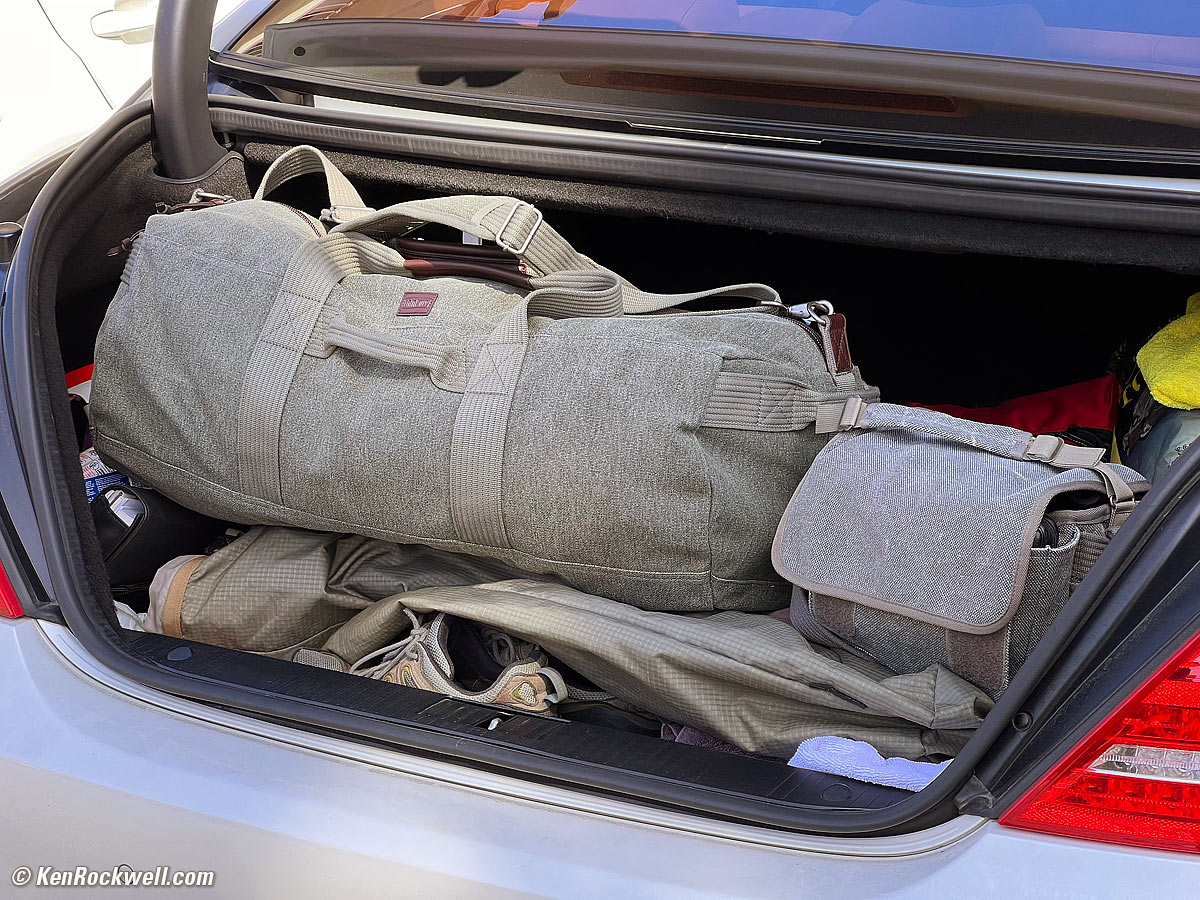
I brought my clothes and non-photo gear in my ThinkTank Retrospective Duffel 75, a good-sized duffel bag that matches my beloved Retrospective camera bags! It holds more than enough clothes, toiletries and accessories for a few-days-long trip. It's super well-made of waterproof cotton canvas, cloth linings and leather trim just like the Retrospective camera bags; it's not the usual crummy nylon duffel bag. Perfect!
 |
 |
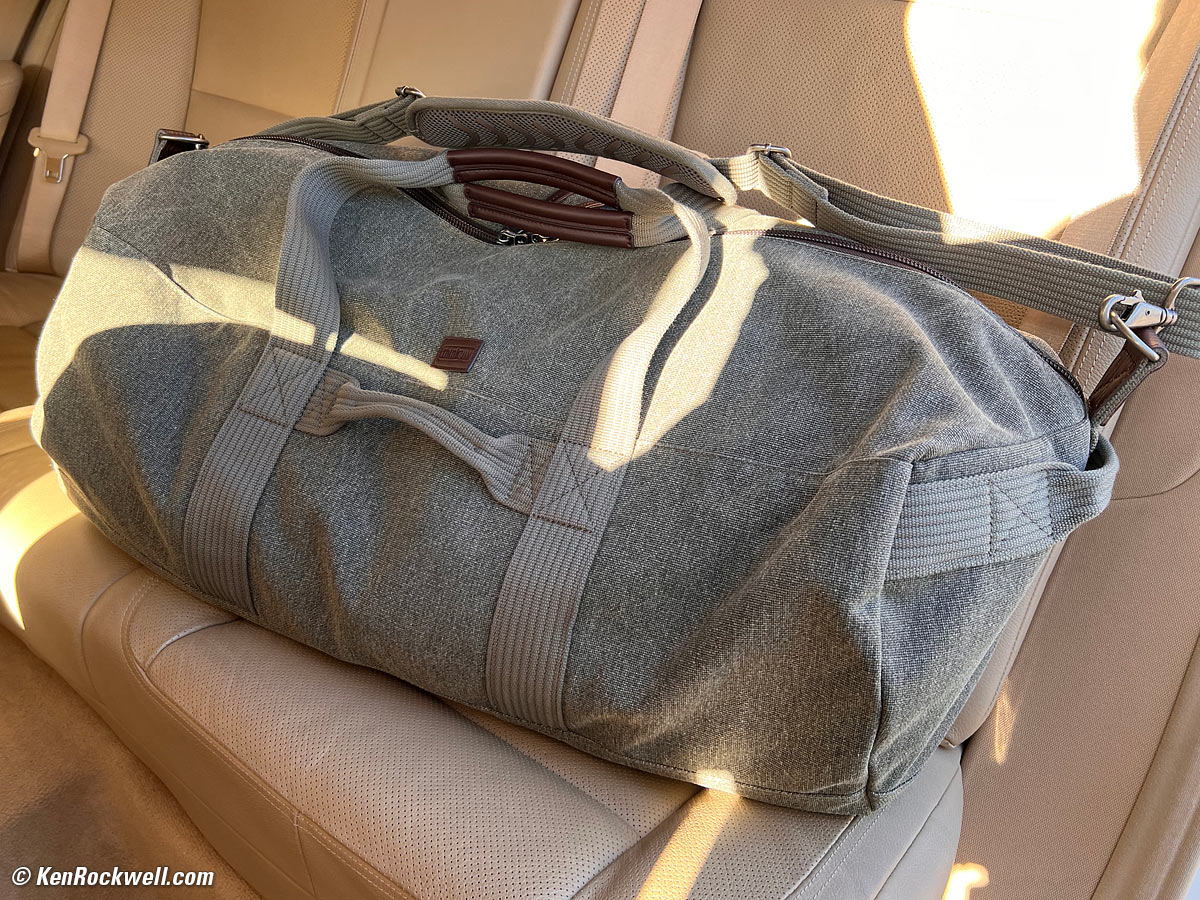 |
ThinkTank Retrospective Duffel 75. The left photo shows my Retrospective 5 bag on a different trip. click any to enlarge.
I brought my computers and chargers in my Think Tank Retrospective Everyday EDC Backpack, so all three bags matched!

The Ultimate Travel Set: Think Tank Retrospective Everyday EDC Backpack on top of my Retrospective Duffel 75 next to my Retrospective 7 Camera Bag. bigger.
Data Wrangling top
When I got home I copied the JPGs from my CFexpress type B card into my Mac with my CFexpress B card reader plugged into the front USB-C jack of my OWC Thunderbolt 3 Dock. Easy!
Because Photoshop 2021 doesn't read the modern HEIF images I shot on iPhone, I had my iPhone convert the HEIFs to JPGs as I import them by selecting the appropriate images, tapping the SHARE icon, then OPTIONS > FORMAT > Most Compatible (code for JPG😁), and AirDropping them to my hotrod touchbar 4-port 2018 13" MacBook Pro with a quad-core 2.7 GHz i7 with 16 GB RAM and a 1 TB SSD running Mojave 10.14.6. I don't worry about archiving the HEIC files because they're still stored in my iPhone (and its backups) if I ever need them.
Selecting the Best Shots top
I sorted and picked the winners with Photo Mechanic. This is the fun part.
I code red (pressed 1) for deletion, yellow (pressed 2) as picks, and green (pressed 3) as super picks.
Editing top
Once selected, each pick received significant artistic input in Photoshop 2021, usually with the Skylum Luminar Neo and/or the Radiant Photo plugins until each completed work looked as I originally envisioned it. I'm not a fan of presets; I use software as tools to get to the image I first saw in my mind faster, but skip the presets each offers.
I use only one Thunderbolt 3 cable to connect my hotrod touchbar 4-port 2018 13" MacBook Pro with a quad-core 2.7 GHz i7 with 16 GB RAM and 1 TB SSD running Mojave 10.14.6 to power and connect to everything, like my Samsung 55" 4K UHD TV (connected with an active Mini Display Port to HDMI cable to my OWC dock) as well as all my external drives and exotic audio system via TOSLINK. I store all my images on an 8 TB Samsung SSD mounted in a cheap and entirely functional USB-C enclosure.
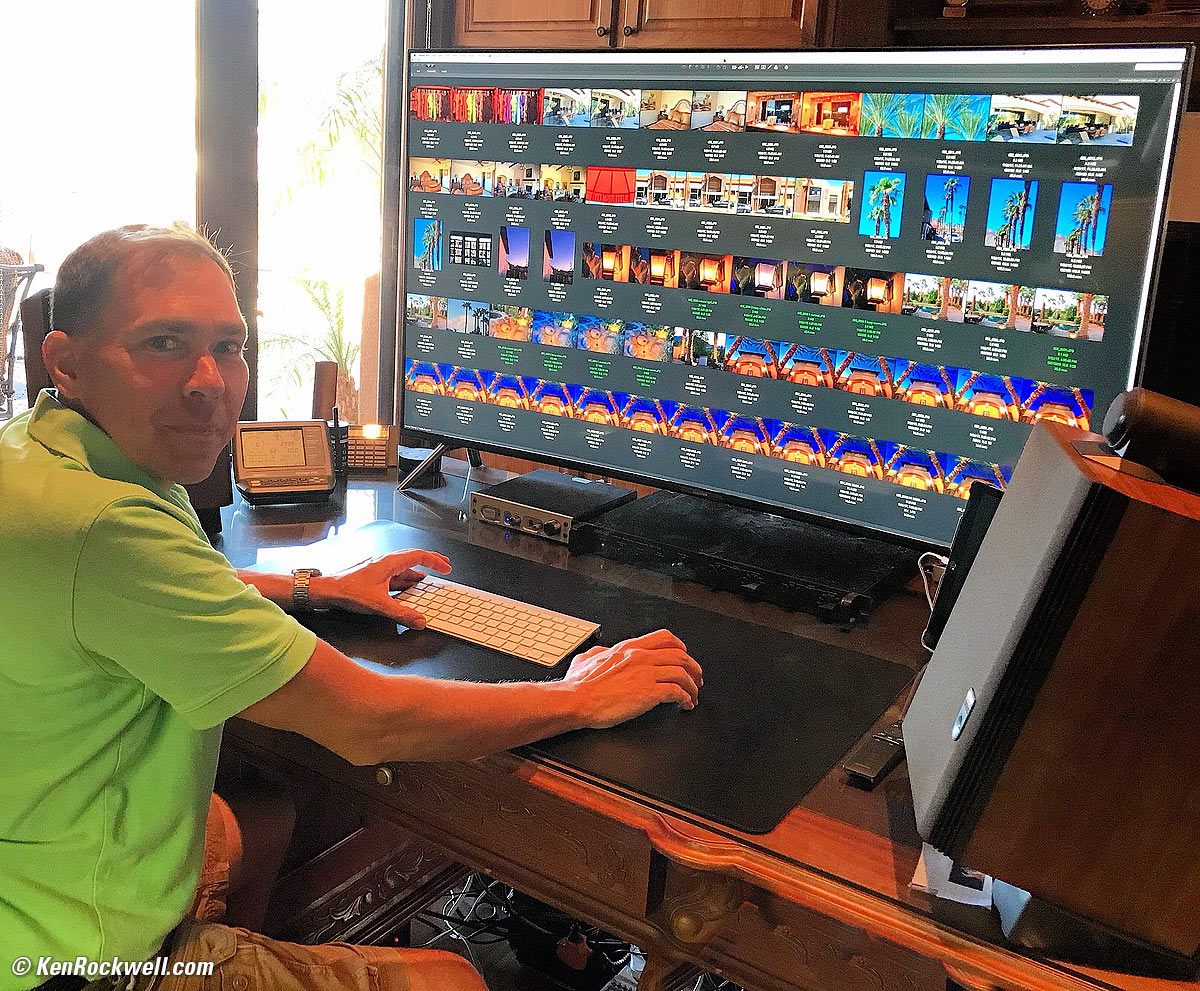
Samsung 55" 4K UHD TV as computer monitor. bigger.
I can't give you the exact steps I used to create any particular image; this is performance art for me. I just get into Photoshop and keep working with whatever it takes until the image looks as I first imagined it. Every step brings me closer and closer to my previsualized result; I use no presets.
Like all of Man's creations, each works first exists in my imagination, and I do whatever it takes until the final result matches my vision. For instance, I often add deliberate burning and dodging (localized lightening and darkening), cropping, edge-burning (edge darkening or vignetting), strong levels and saturation changes, perspective corrections and/or split-toning. Photography is a creative art, not an application of rules. You have to know what the picture is going to say and how you want it to look before you take it. See also my articles at How to Take Great Pictures.
Many of the iPhone shots were optimized in Apple's own very competent Photos app on my iPhone before I AirDropped them to my Mac. The iOS 26 Photos app not only does a great job correcting colors, it also can correct tilts and perspectives and does a bang-up job removing distractions like cars and wires — all from HEIC files which I export as JPGs.
Once optimized in Photoshop and my plug-ins, I used a a one-click action I programmed decades ago to resize each image to 1,920 pixels wide, sharpen it to correct for resampling aperture correction, add my ©KenRockwell.com bug and Saved For Web at 51% quality to preserve full chroma bandwidth. Please excuse the lingo; I've worked in digital image processing since the 1980s and haven't taken the time yet to explain the lingo for things like "kernels" and resampling apertures.
I built and published these pages in my 2010 copy of Dreamweaver CS5. There is no template; all 6,000-plus pages of this website have been created by my own hands. I tried the 2019 CC version of Dreamweaver and it was AWFUL, continuously crashing and often unable to complete basic copy-and-pastes, so I stick with CS5 and my old Mac Mojave operating system, which all work great so I can focus on making pictures rather than chasing new bugs and learning new versions of the same old software.
Viewing top
Turn up your screen brightness for best results.
Click or tap any image to make it fit your screen. On Mac Safari, command ⌘ and + or - on will change the size of the page or image, and command ⌘ + 0 brings it back to normal.
Everyone's screens, from iPhones held vertically to computers with squinty 16:9 monitors, have different shapes. I can't make my differently-shaped shots fill everyone's screen at the same time.
These are 1,920 pixel-wide images; the originals are much higher resolution, but only a few of those original files are shared. These images will fill your screen horizontally, up to 1,920 pixels wide (or 3,840 pixels wide on Mac Retina displays). The vertical size will vary with each image.
On iPhone and iPad, everything changes size when you rotate between vertical and horizontal.
Good luck and enjoy!
See also my experimental HDR page with HDR versions of the iPhone shots.
< < Back to Photos
© Ken Rockwell. All rights reserved. Tous droits réservés. Alle Rechte vorbehalten. Alla rättigheter förbehållna. Toate drepturile rezervate. Niciun vampir nu a fost implicat în crearea acestei lucrări. Doe! Omnia jura reservata. Ken Rockwell® is a registered trademark.